If you monitor your network with PRTG Network Monitor, UVexplorer makes a great companion product to PRTG. UVexplorer can export devices and network maps to PRTG, and also automatically configure PRTG device sensors. This allows you to discover devices in UVexplorer, export them to PRTG, and monitor them in PRTG. This gives you the best of both worlds: UVexplorer’s detailed and fast network discovery capabilities, combined with PRTG’s advanced network monitoring capabilities.
UVexplorer integrates directly with PRTG to provide the following powerful features:
Enhanced Discovery of Network Devices and Connectivity – UVexplorer’s discovery is fast, detailed, and accurate. Run network discoveries within UVexplorer, and export discovered devices to PRTG for monitoring.
Automatic Device Sensor Configuration – When UVexplorer exports devices to PRTG, it automatically configures sensors on those devices in PRTG. Rather than creating all possible sensors, UVexplorer creates only those sensor types that you request, which minimizes your sensor count. Specifically, UVexplorer can automatically configure the following PRTG sensors:
Ping Sensors
SNMP Uptime, CPU, Memory, and Traffic/Interface Sensors
WMI Uptime, CPU, Memory, and Disk Space Sensors
Enhanced Network Maps – UVexplorer automatically creates detailed maps of your network, including details about how your devices are connected at the port level. UVexplorer’s map editor makes it easy to create high-quality maps, and then export them to PRTG. This gives you great maps in PRTG, with UVexplorer doing most of the work automatically.
Scheduled Network Discoveries – UVexplorer keeps your PRTG devices, sensors, and network maps continuously up-to-date by running network discoveries on a scheduled basis (hourly, daily, weekly, etc.) After completing a scheduled discovery, UVexplorer automatically exports new devices and updated maps to your PRTG server, and also configures sensors on new devices.
Detailed Device Inventory – UVexplorer discovers detailed inventory information about your network devices, and lets you run reports across all devices on your network. The following inventory data and reports are available:
Asset details (make, model, serial number)
Operating System Version
Software Inventory
Network Interfaces, Bridgeports, and VLANs
Device Connectivity
PRTG Export Wizard
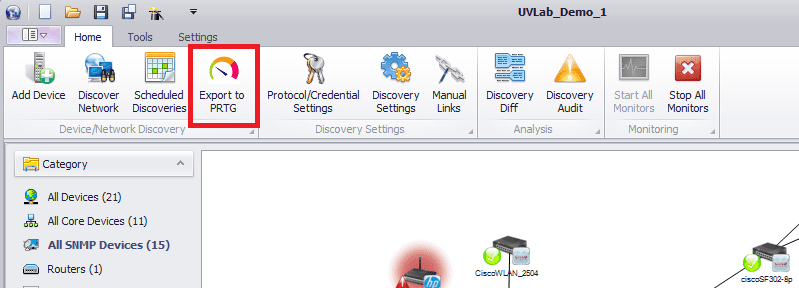
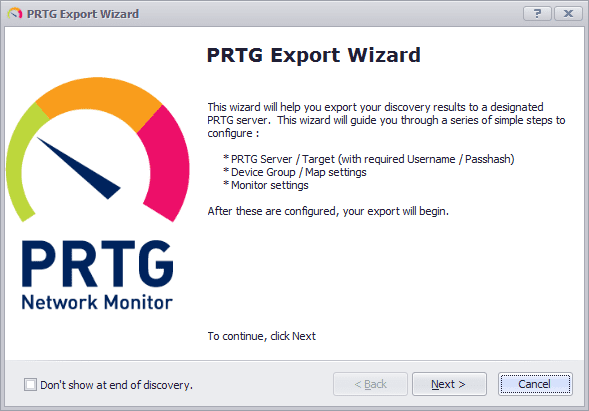
UVexplorer discovers all of your network devices and connections in a matter of minutes. At any time after discovery completes, you can export your network devices and maps into PRTG by clicking the “Export to PRTG” button in the Home toolbar (see below). Clicking this button will start the PRTG export wizard, which steps you through the various export options.
Clicking Next on the wizard start page takes you to a page that asks you to select the PRTG server you want to export to.
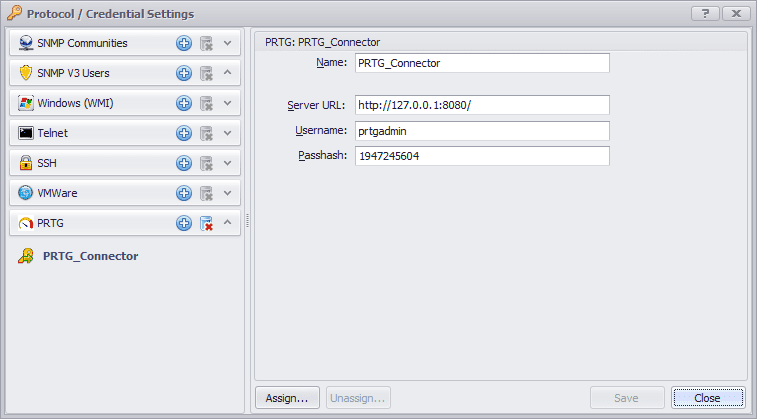
If you have never before defined credentials for your PRTG server, click the settings button to define those credentials. You will be asked to type in the URL, username, and passhash for the target server. (Your passhash can be found in the PRTG web browser interface by selecting the Setup -> Account Settings -> My Account menu option.)
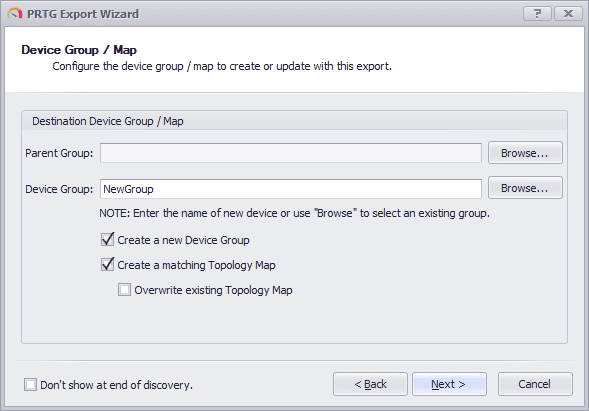
Clicking Next on the PRTG Server Settings page takes you to a page that lets you specify the name of the PRTG device group your UVexplorer devices will be exported to. You can send your devices to an existing PRTG device group, or specify that a new device group be created. If you export devices to an existing PRTG device group, UVexplorer will only add new devices that are not already in the target group (i.e., duplicate devices are not created). You can also specify an existing parent device group within which the new device group will be created. In addition to creating a device group, you can also ask UVexplorer to create a network map in PRTG. The exported map will contain all of the exported devices, including the physical connections between them. You can specify whether a new map should be created, or an existing one should be overwritten. If you overwrite an existing PRTG map, UVexplorer will only add new devices that are not already on the map (i.e., duplicate map devices are not created).
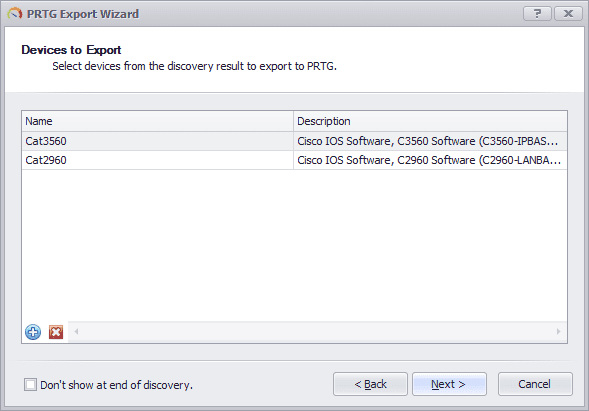
Clicking Next on the Device Group/Map page takes you to a page that lets you select the devices to be included in the exported device group. You can select any or all devices in the discovery result that is currently open in UVexplorer.
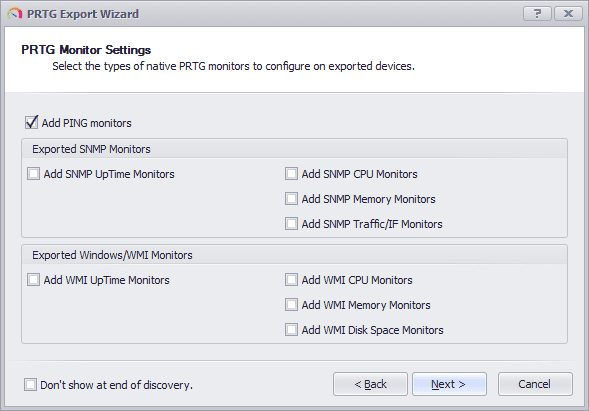
Clicking Next on the Devices to Export page takes you to a page that lets you specify what kinds of sensors should be created on the devices in PRTG. Often, you only want one or two kinds of sensors created, not all possible sensors. By exporting devices from UVexplorer into PRTG, you can get only the sensors that you really want, thus minimizing your sensor counts.
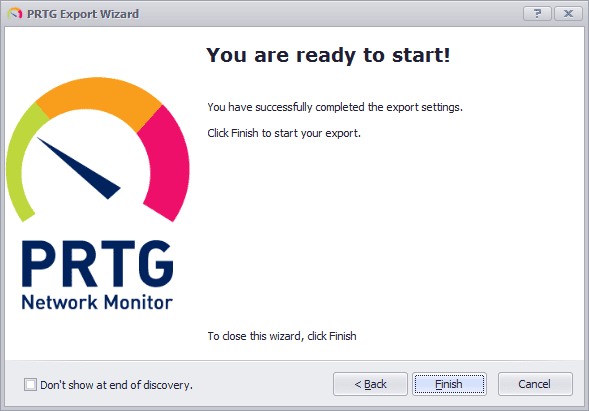
Clicking Next on the PRTG Monitor Settings page takes you to a page that lets you initiate the export to PRTG.
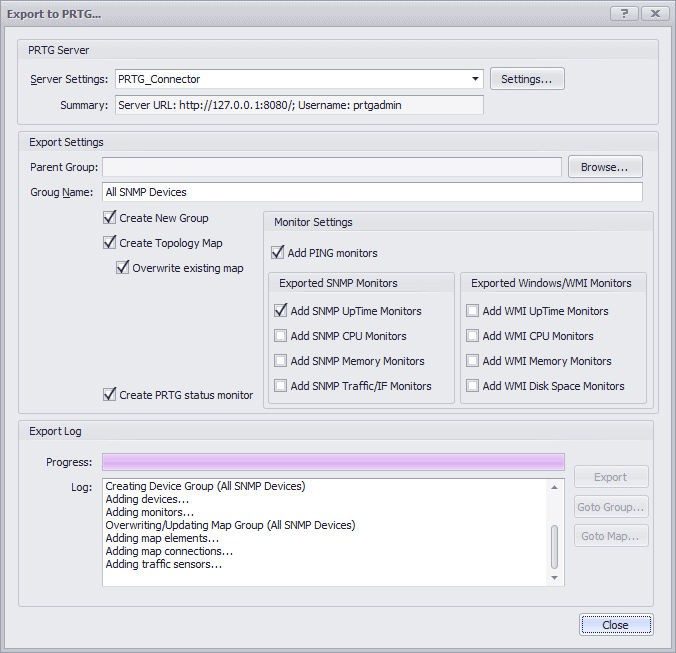
Clicking Finish on this page will begin your export. The PRTG export will appear. It displays all of your selected export settings, and also provides feedback on the progress of the export.
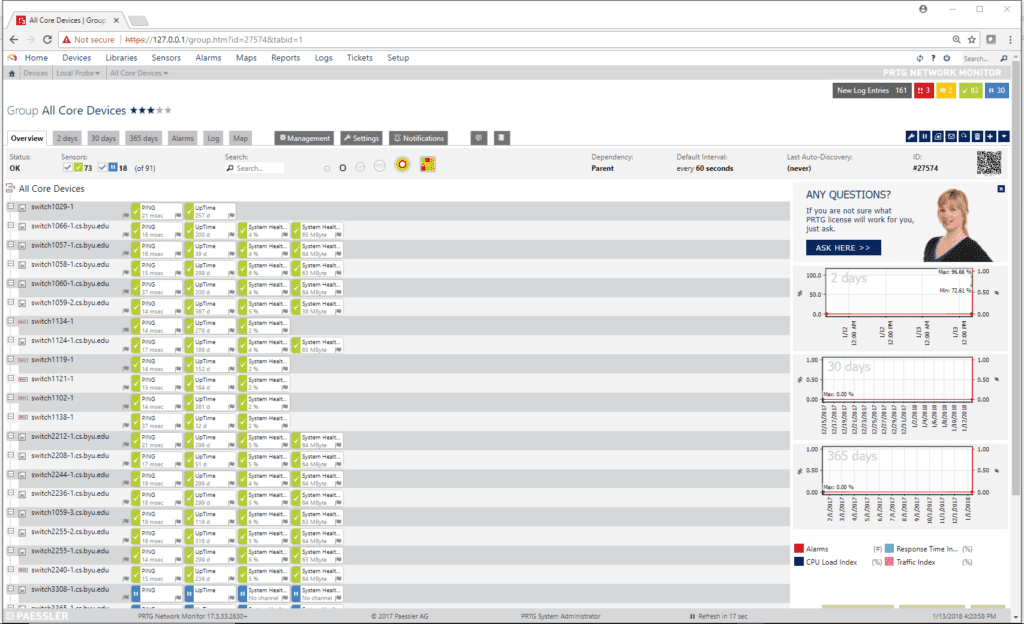
After the export is complete, the “Goto Group” and “Goto Map” buttons on the export form will be enabled. Clicking “Goto Group” will open a web browser, and take you to the PRTG device group that was created by the export.
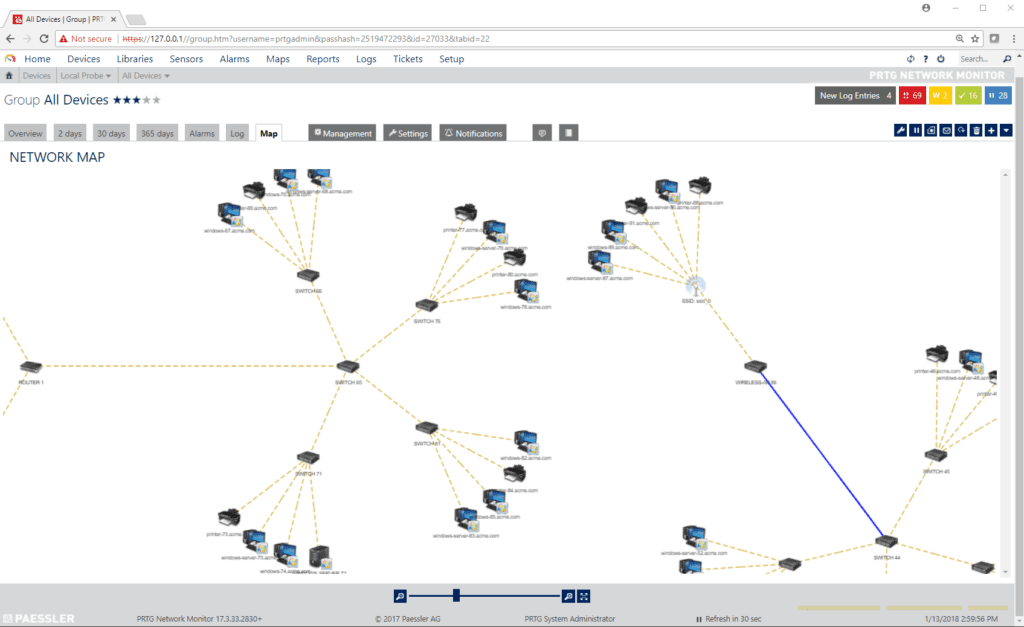
Similarly, clicking the “Goto Map” button will open a web browser, and take you to the PRTG map that was created by the export (if any).
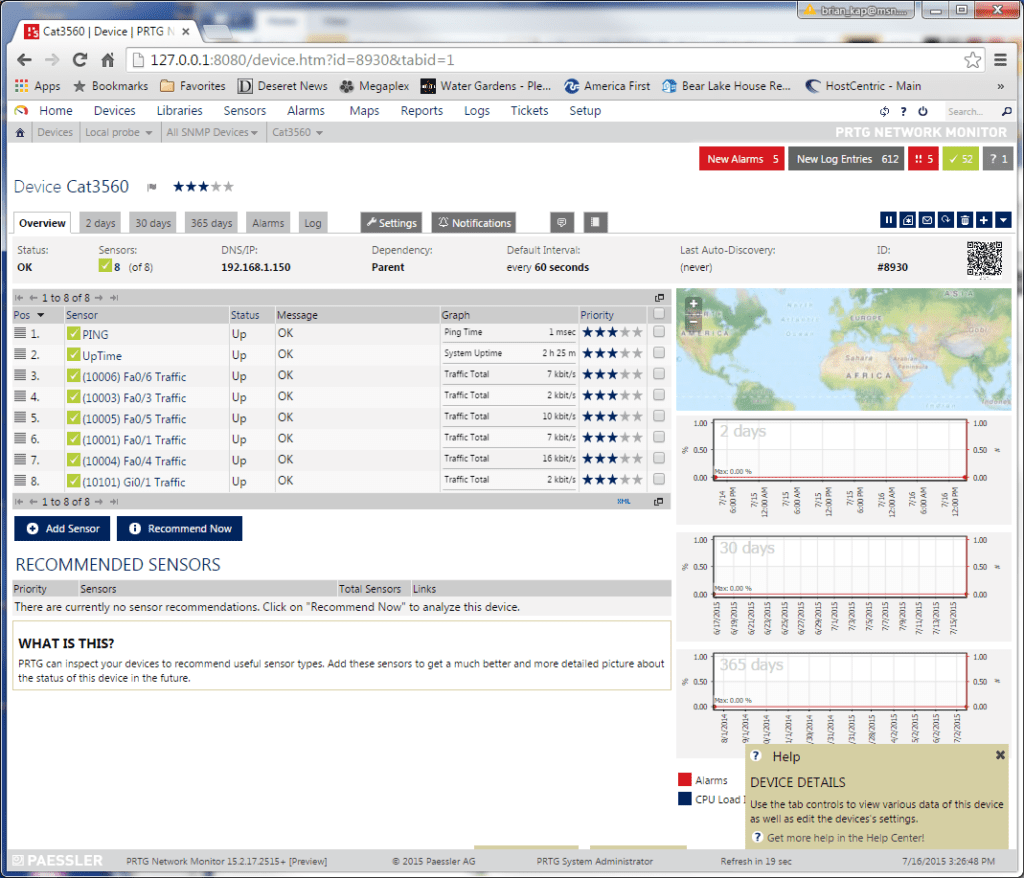
Through the PRTG user interface you can view the sensors that were automatically configured by UVexplorer on the exported devices, as shown below.
Exporting Directly from UVexplorer Maps
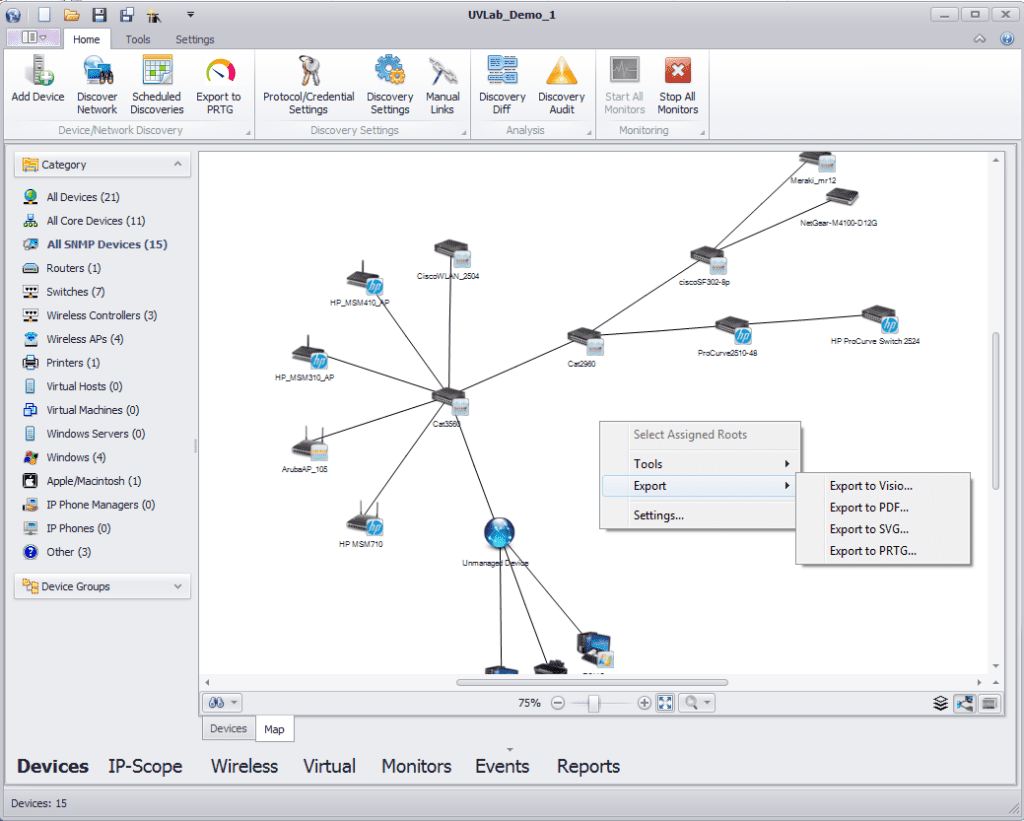
You can also export devices to PRTG without using the PRTG export wizard. This may be more convenient once you are comfortable with the export process. Specifically, you can export the devices on any UVexplorer map by right-clicking on the map, and selecting the “Export -> Export to PRTG” option (see image below).
This displays the PRTG export form, which lets you enter all of the export settings on one form (instead of using the PRTG export wizard). After entering your export settings, click the Export button to export all of the map’s devices to PRTG.